

Changing Colors Yarn While Hdc Crocheting in the Round
How to Crochet Stripes Perfectly for Amigurumi
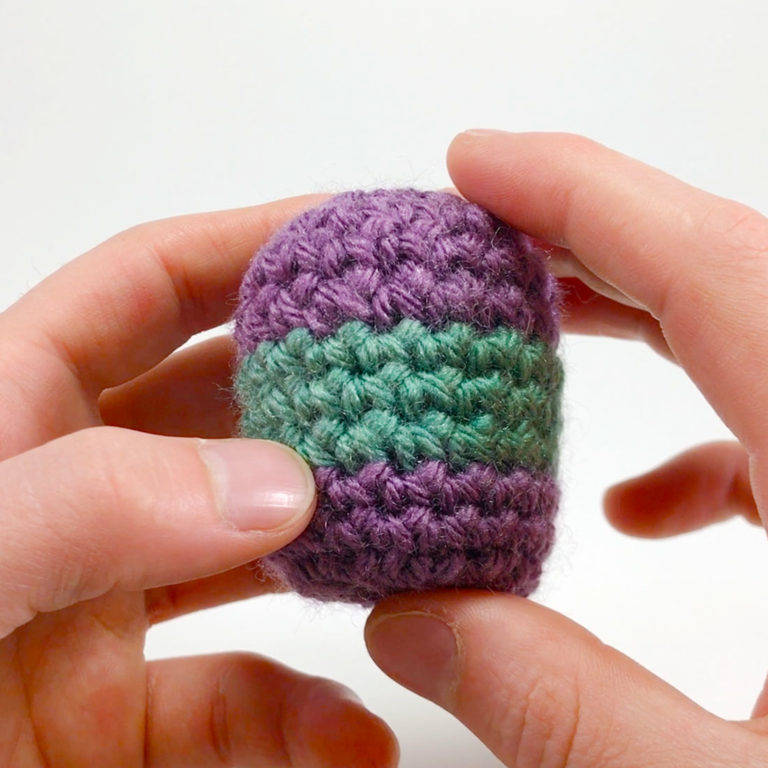
In this tutorial I'll teach you how to crochet stripes perfectly for your amigurumi while crocheting in the Rnd. Normally when doing color changes and crocheting stripes you end up with a very noticeable vertical seam indicating exactly where you changed colors. You also get this less than perfect horizontal line where the tops of the previous Rnd are showing through the next Rnd.
The following techniques are built to make the most seamless lines between rounds of color changes, both vertically and horizontally, making it great technique for beanies, or my favorite, amigurumi. Without further ado, let's learn how to crochet stripes perfectly…
*Requires a free Club Crochet Account
The Materials:
•The Yarn (Worsted Weight)
– 2 Colors
•Size G6/4.00mm Hook
•Needle
Worked in the round
The Stitches:
– Ch : Chain stitch
– St : Stitch
– Sl.st : Slip Stitch
– Sc : Single Crochet

How to Crochet Stripes Perfectly
(01:10) Part 1: Half Color Changes
Before I teach you the two techniques, in order to truly crochet stripes perfectly, you need to first know how to do half color changes with the single crochet. Without them, sure you can get a pretty seamless vertical join down the back, but you won't get a really clean horizontal line between the stripes.
For a Half color change we're crocheting the top of the stitch in one color and the bottom in another. This can be used to make really detailed designs in your amigurumi, which I'll be discussing in a future video, but for now here's how it's done.
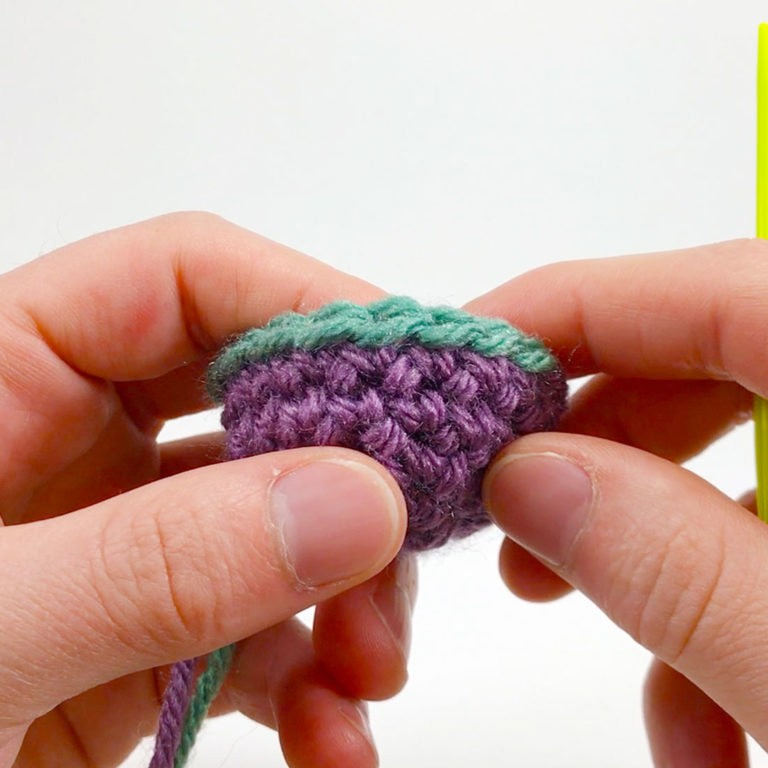
First at the end of the last Rnd in the previous color, in this case, purple, you want to stop crocheting right before the last loop is pulled through. So you should have two loops on the hook.


Now place a new color, (green), in between the two loops and the connected yarn.
Place your index finger of your non dominant hand (for me that's my left) in between the two colors so that our second color, green, is on the bottom. Now flip under so that our new color is on the top, and pull through with the new color.

Now flip back around using the same technique in the same direction so that our first color, purple, is on the top, insert your hook into the next stitch, yarn over with our first yarn and pull through.
Continue this technique, switching colors so that the top of the stitch is Green and bottom is purple in each stitch around.
Okay, now that you know how to do half color changes, lets move onto the techniques that are vital for crochet stripes….
(02:49) Part 2: The No Cut Join
This technique may not be as seamless as the Invisible Join, but it's a lot easier, and you don't need to cut the yarn so you won't have any annoying tail ends to weave in when your done with your crochet stripes!
Here we are at the end of a Rnd of single crochet stitches ready to start our color changes. Before you finish the Rnd be sure to lock in a strand of your second color by crocheting around it with your last stitch.
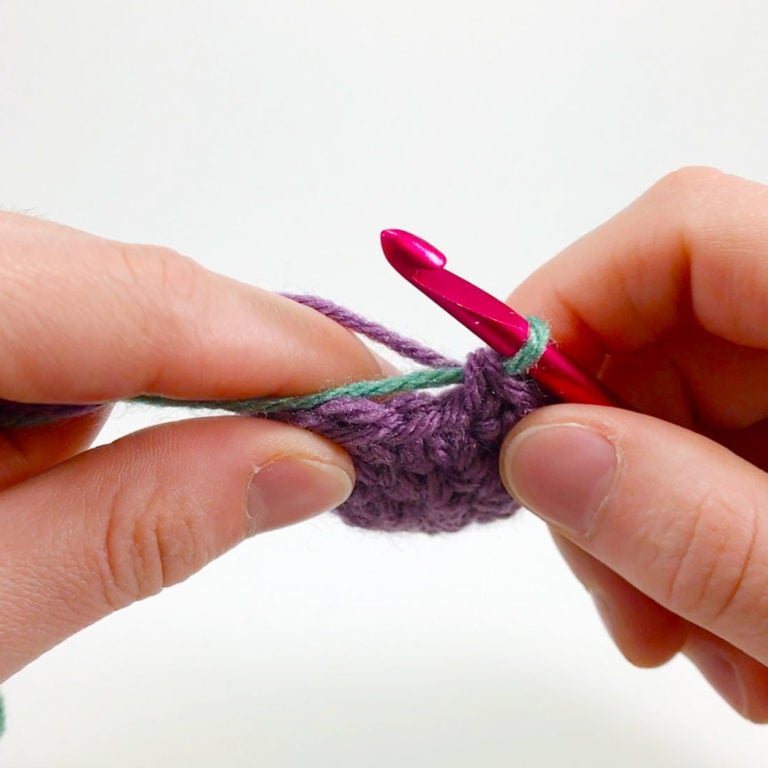
For the No-Cut Join, slip stitch into the next st.
Now Ch 1 using the new color, and single crochet into the same stitch that you slip stitched into. In this Rnd we're doing all half color changes, so when you make your single crochet stitches make sure the bottom of the st is your original and the top is the new color.
Make sure to count your sts as you go around so you don't make too many stitches.
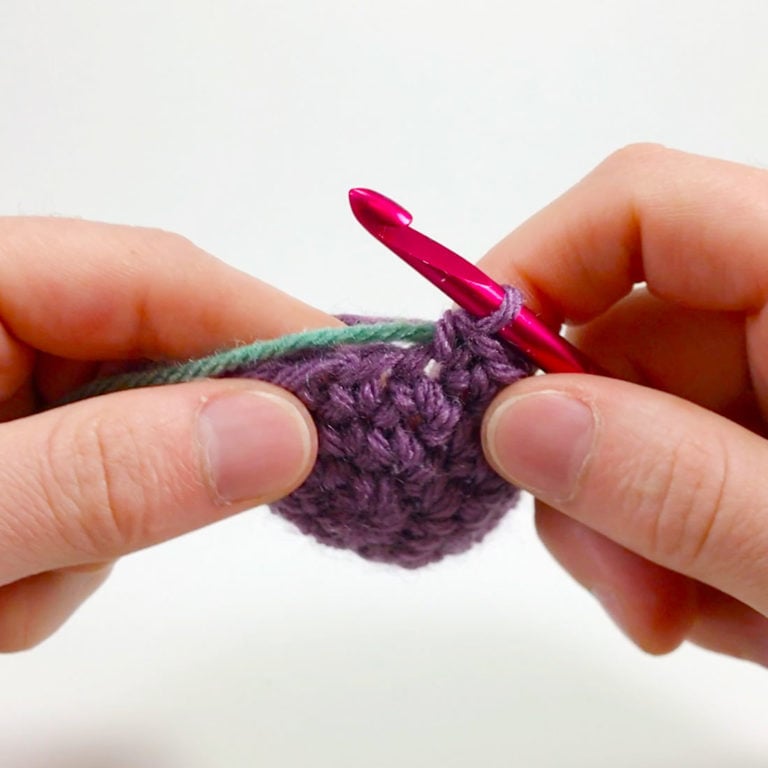
At the end of the Rnd we'll do the same technique to connect to the first st. Sl.st into the first st you made, ch 1 (this time I'm making the entire Rnd in Green so I don't need to change colors), and begin single crocheting in each st around starting in the same stitch you just slip stitched into.
If you get to a Rnd where the colors don't change (for example, if the next Rnd were all in Green) then you don't need to do the slip stitch to connect, just continue single crocheting in each st around like you normally would.
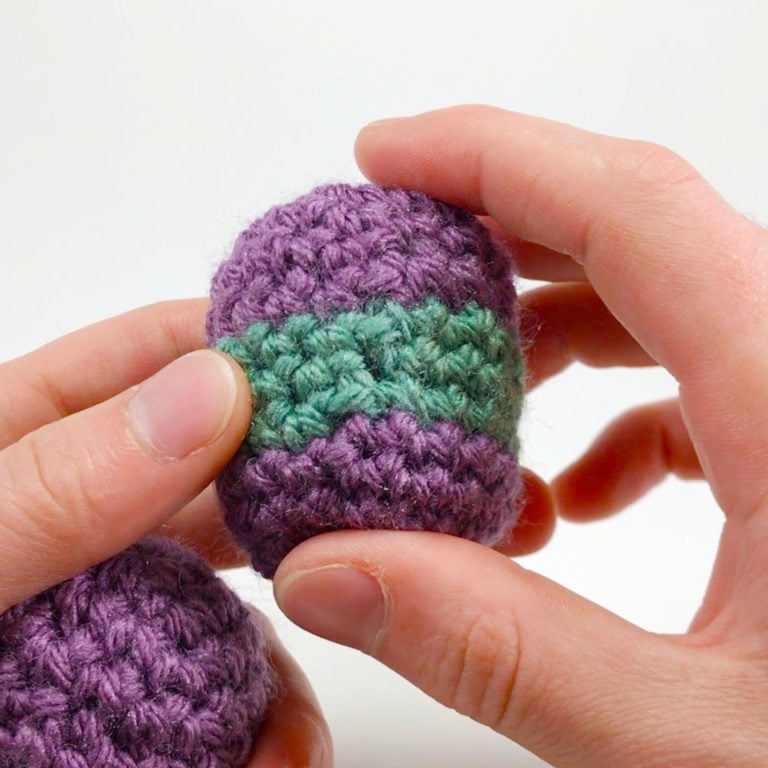
Basically all this is doing is making the end of the color changed Rnd pulled downward to match the beginning of the Rnd and make it even, but it does leave this little indicator showing where the technique was done, making it less than perfect. There is a way to fix that though, which I'll tell you about in just a sec…
This tutorial is brought to you by…
![]()
• Monthly patterns and projects
• Full video tutorials for each pattern
• Access to the Club Crochet Library
• Kits mailed directly to your door with all the materials to make one of that months patterns.
(05:34) Part 3: The Invisible Join
This technique is practically un-noticeable, but requires a bit more work than the No-Cut Join because you have to cut the yarn after each Rnd.
When you're prepared for a color change, you have to first make a hidden end by cutting the yarn and pulling through. Then with either a needle or your crochet hook, go through the back of the 2nd stitch from the hook with the tail. Then go back through the back loop of the last stitch made. This makes an end that mirrors the rest of the stitches around and get's you set up for a perfect color change.
How to make a hidden end. You'll have to make this each round you make a color change for the Invisible Join.
Now insert the hook back into the hidden end you just made, and pull a loop through using the tail.
Make a slip knot with the new color and ch 1 with it.
Starting in the same stitch you pulled the first loop through, sc in each st around making half color changes all the way around so that the top of the stitch is your new color, and the bottom is your previous color.
You may need to pick up a new strand of the original color depending on how long of and end you left when you cut the yarn.
You will likely have to untwist the yarn half way through as well because of the half color changes.
When you get back around, you'll have to cut the yarn and make a hidden end again into the first half color changed stitch. Then insert the crochet hook into the hidden end you just made, pull the tail through, ch 1, and single crochet all the way around in your new color.
Now you'll have a perfect horizontal and vertical join around, and you can continue this technique again when you want to make another color change for the next crochet stripes.
The problem with this technique is that it leaves a lot of tail ends on the inside, and it's a bit annoying and time consuming to do, especially if you want to make a lot of crochet stripes. That's why I personally prefer the No-Cut Join because I'm lazy and can deal with the fact that I'm not perfect.
Changing Colors Yarn While Hdc Crocheting in the Round
Source: https://clubcrochet.com/crochet-stripes-perfectly-amigurumi/
0 Response to "Changing Colors Yarn While Hdc Crocheting in the Round"
Post a Comment